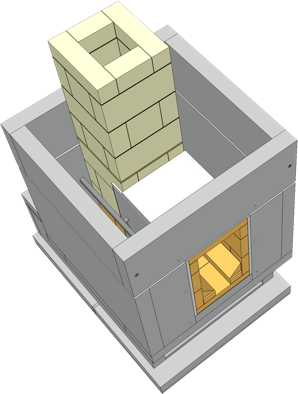
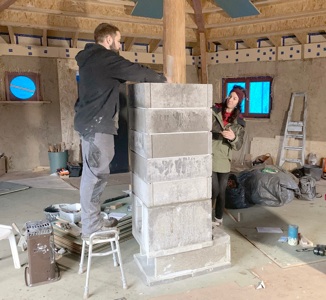
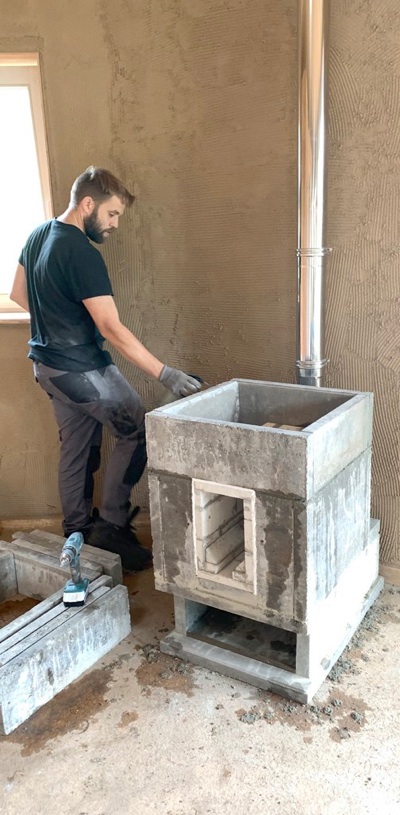
Step 5 Construction of the bell
Drilling holes
Up from the second layer, the corners are secured with a screw. For this, holes with a diameter of 6 mm are drilled on the longer parts, 25 mm from the side. In the shorter parts the holes are drilled exactly in the middle of the ends; that's where the plugs come in. For these holes it works well to use a 7mm drill bit and then use 6mm plugs.
Drilling is done with an ordinary concrete drill, and a diamond drill. Working with diamond drills is shown in this YouTube-video.
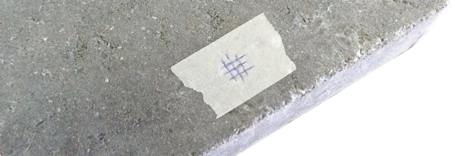
Precise marking is required. Do that with four lines around the hole, as shown below. Drill the hole in the longer part from both sides.
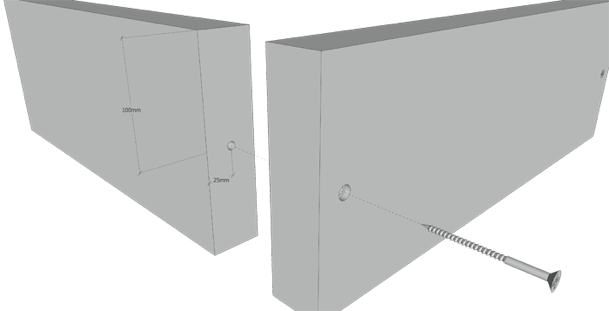
100

Second layer
Before you finally put the layers in place, you first make a test fit. On a flat surface you put the layers together. Test that the screws will be tight. They should not be too loose, but certainly not too tight either. If necessary, you can drill out the hole a bit, or use other plugs.
The second layer is laid on top of the first with cement mortar 1:5 (1 part portland cement to 5 parts sand). Height of the mortar layer is 9 mm.
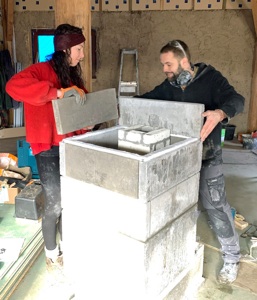
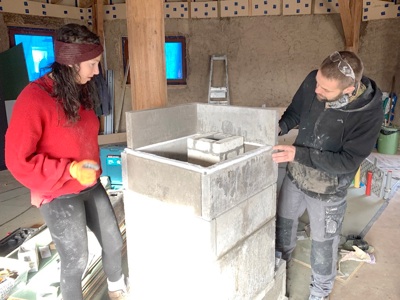
Place the four concrete blocks on the mortar one by one and screw them together, without glue. Measure the two diagonals to make sure it's exactly square. If necessary, use the large clamp to correct.
Now cover the top of the firebox with Superwool.
Upper part of the riser
You can now place the upper part of the riser onto the lower part. Due to the extreme temperatures in the riser, the two parts of the riser will expand at slightly different rates. To prevent cracks, you place the upper part on a layer of clay instead of gluing it (fig 1).
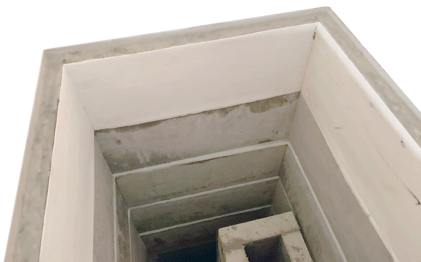
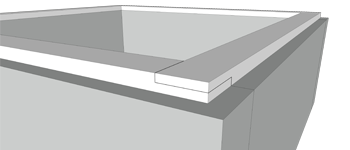
Layer 3 to 6
Layer 3: Place 35 mm wide strips of Superwool on the inside of the previous layer. Make notches at the ends so that they overlap seamlessly at the corners
(fig 2).
Place spacers of 10 mm high in the corners and place the four concrete blocks on top. Use a level to check whether they are exactly above the previous layer.
Secure the blocks with screws. Make 9 mm high spacers from iron and replace those of 10 mm with these; the concrete blocks will rest on these spacers (fig 3).
You do the same for layers 4, 5 and 6.
6th layer: ceramic felt
On the inside of the top layer comes a protective layer of 2mm thick ceramic felt. You glue it in place with heat-resistant sealant.
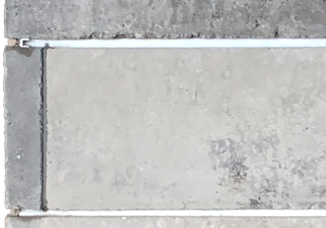
Once the bell is completed, the vertical joints on the outside must be sealed with heat-resistant silicone sealant (fig 3).
You can now also fill the horizontal joints with cob:
1 part clay powder mixed with 1 part fine sand, and then mixed with water. Use masking tape to get it nice and tight.
You drill the first 2 mm with a regular concrete drill, without the impact function. Drill the next centimeter with the diamond drill: this allows you to make very precise corrections. The rest can be done with the regular drill, and then with the impact function.
Superwool 35 mm wide
Overlap


2.
Spacer 9 mm

Seal vertical joints with heat-resistant sealant

3.
Use a plant sprayer to prevent the mortar from drying out too quickly
1.
2 mm clay